Reshaping
The heart of animation is movement. Movement is achieved by changing shapes from one frame to the next. Change can take many forms: moving a shape from one position to another, moving or transforming points associated with a shape, changing the color of the interior or border of the shape, adding or removing points from the shape. KoolMoves provides a number of tools to accomplish all these tasks without getting in the way of your creativity.
 To move a shape or a group of shapes is simple. Select the shape or group of shapes with the shape selection tool and drag the mouse. For fine precision movement, you can use the arrow keys. The combination of shift plus an arrow keys produces a movement of 10 pixels.
 To move a point or a group of points is equally simple. Select the points with the point selection tool and drag the mouse. For fine precision movement, you can use the arrow keys.
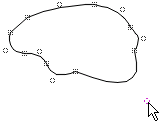
 Shapes and lines with curves are defined by on-shape points and off-shape points (indicated by dashed circles). You can change the shape of the curve by moving the points.
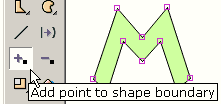 To add a point to the boundary of a shape use the Insert Point tool (whether the shape has a border or not or whether the fill is a color or a bitmap).
 You get a cursor that indicates when you are allowed to add a point. It looks like this when you are not on a boundary line.
 And it looks like this when you are on a boundary line.
 Click the mouse and a point is added.
 Without releasing the mouse, you can drag the point to a new position.
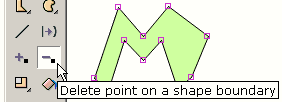 To delete a point on the boundary of a shape use the Delete Point tool.
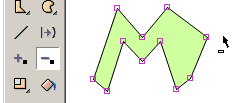 You get a cursor that indicates when you are allowed to delete a point. It looks like this when you are not on a point.
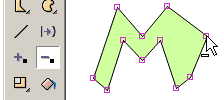 And it looks like this when you are on a point.
 Click the mouse and the point is deleted.
 To change the boundary of a shape from a straight line to a curved line, use the Add Curve tool.
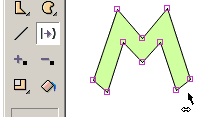 You get a cursor that indicates when you are allowed to add a curve. It looks like this when you are not on a straight boundary line.
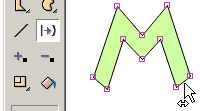 And it looks like this when you are on a straight boundary line.
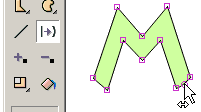 Click the mouse and a curve is added.
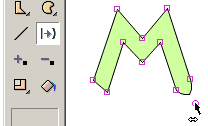 Without releasing the mouse, you can drag the curve point to a new position.
 To scale, rotate, flip horizontally or vertically, slant, squish, or create perspective on one or more selected shapes or one or more selected points, use one of the transform tools.
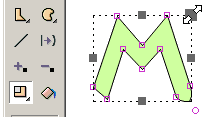 Most of the tools present a set of handles that you can drag in different directions to achive the effect you want. Shown on the right, the mouse is dragging the handle associated with scaling the same amount in the x and y direction.
 The rotation tool lets you define the center of the rotation indicated by the small square plus cross mark. You drag this square to set the center of rotation.
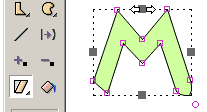 Another tool slants the selection.
Not shown are the flip, squish, and perspective tools. All the tools transform text except slant and perspective.
Squash is the effect used in animation to show the effect of gravity on an object. Stretch is the effect used to show the effect of movement against gravity. A good example would be a rubber ball bouncing. When the ball hits the ground, its shape changes from a circle to an ellipse and as it accelerates back into the air (bouncing) its form stretches slightly. Both squash and stretch can be created by using the squash tool in the effects tool section.